


How to Keep Orchids for Years
How to Keep Orchids for Years
- 1603
- 0
An easy to follow how to guide on caring and keeping Moth Orchids!
How to Keep Orchids for Years! If you are looking for the answer to this then you have come to the right place. I am a huge orchid fan and have been keeping them for about 4 years now. These beautiful plants are quite often misunderstood. But the truth is they are really quite easy to maintain, when you know what to do. This basic how to guide will teach you how to keep and maintain beautiful orchids that keep re blooming year after year!
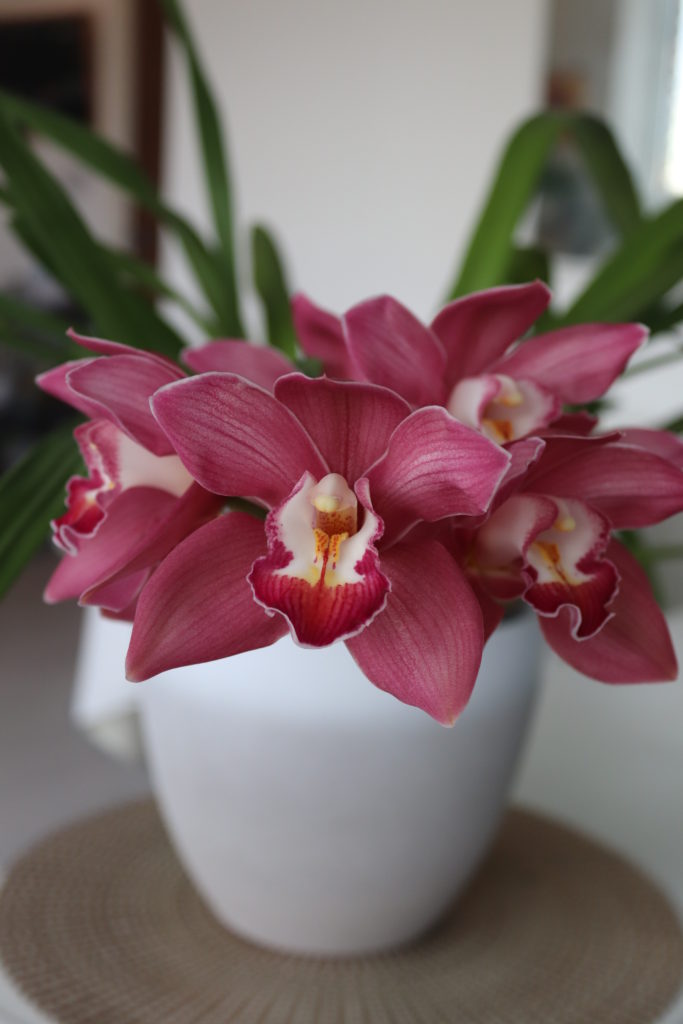
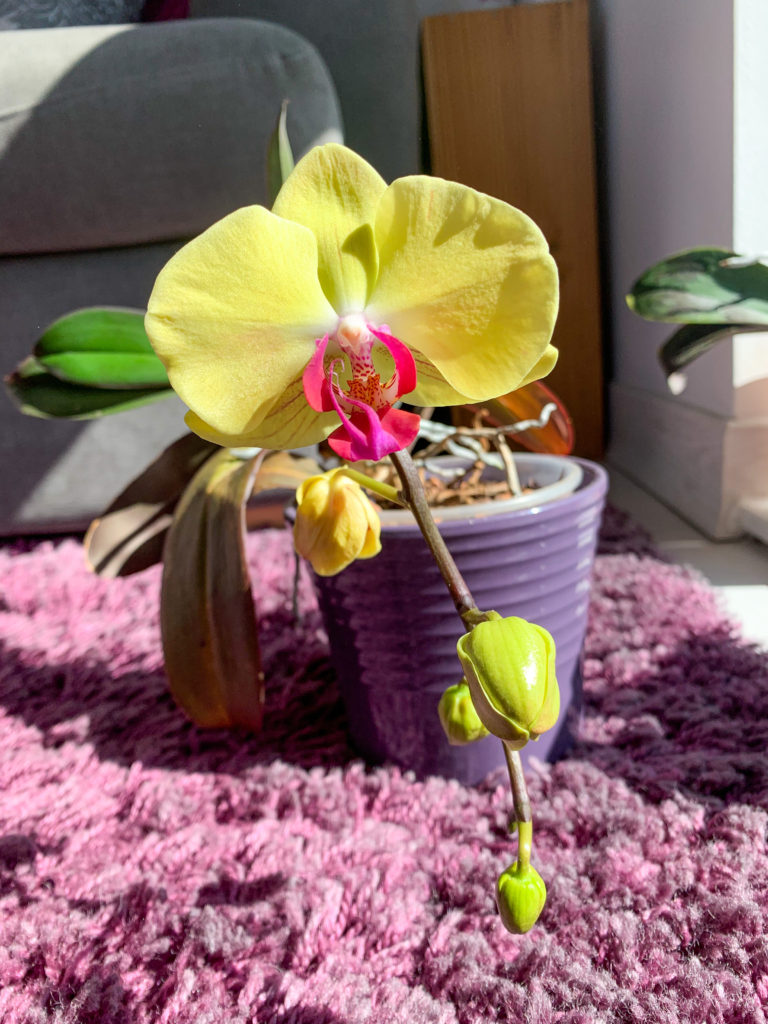
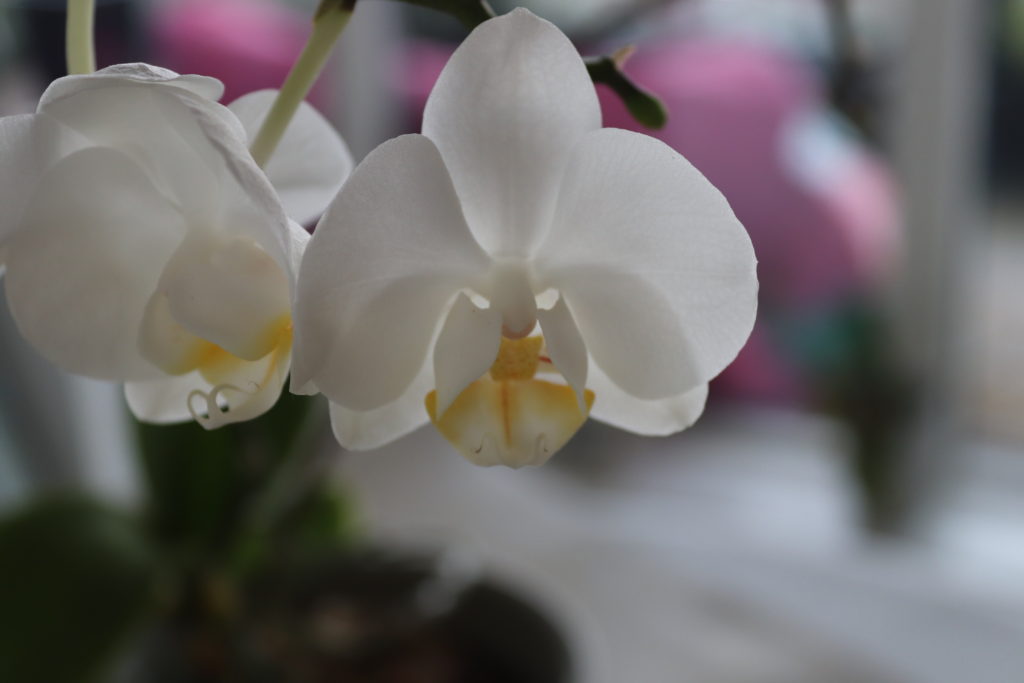
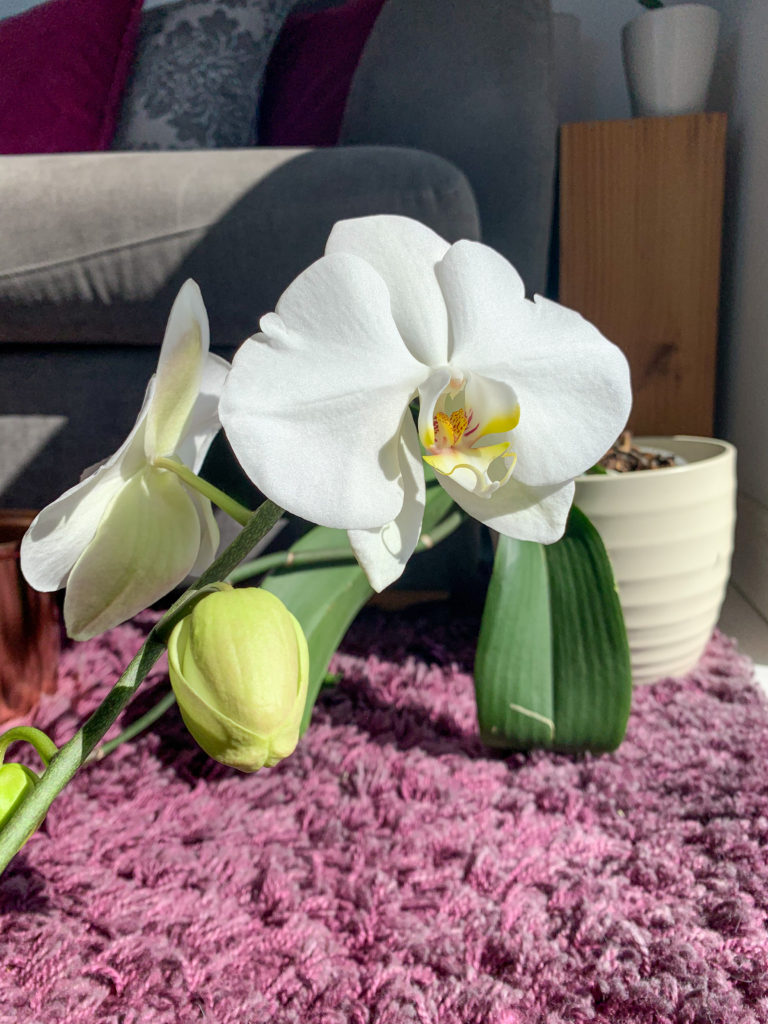
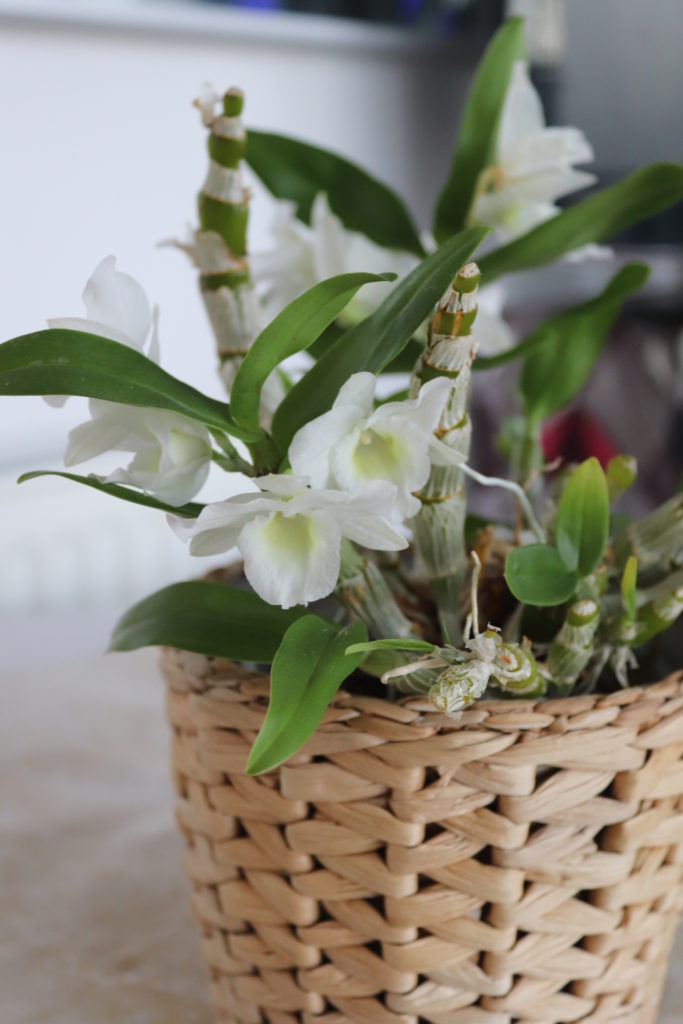
The majority or my orchids are phalaenopsis or moth orchids and this particular species will be the focus of this post. All references to orchid in this post refer to moth orchids unless otherwise specified. Learn How to Keep Orchids for Years now!
1. Buying Orchids
A lot of my orchids were either gifts or bought from my local garden centre, Marks & Spencer or Columbia Road Market in London. These are all reliable places to buy orchids but you also need to be looking out for a few things. When buying orchids you should be looking at the overall health of the plant. To do this you need to pay attention to 3 important things.
The Leaves –
Orchid leaves should be thick, taut and a vibrant green colour. Touch the leaves ,they should feel strong and you should not be able to easily bend the leaves. If the leaves are droopy and wrinkled the plant is distressed. You are better off looking for another if you are new to orchid care.
The Roots –
Orchids will almost always come in a transparent pot, as the roots also need and want natural light to grow healthy and strong. This is helpful, as it allows you to take a closer look at the roots and overall health of the plant. The roots should be a silver/white or green colour and should be firm to the touch. If the roots are brown and squishy, again, this might mean the plant is in distress or is lacking something. However, it could simply mean the plant is a little older and has outgrown its pot and needs repotting. If you are new to orchid care, my advice would be to another plant.
The Flowers –
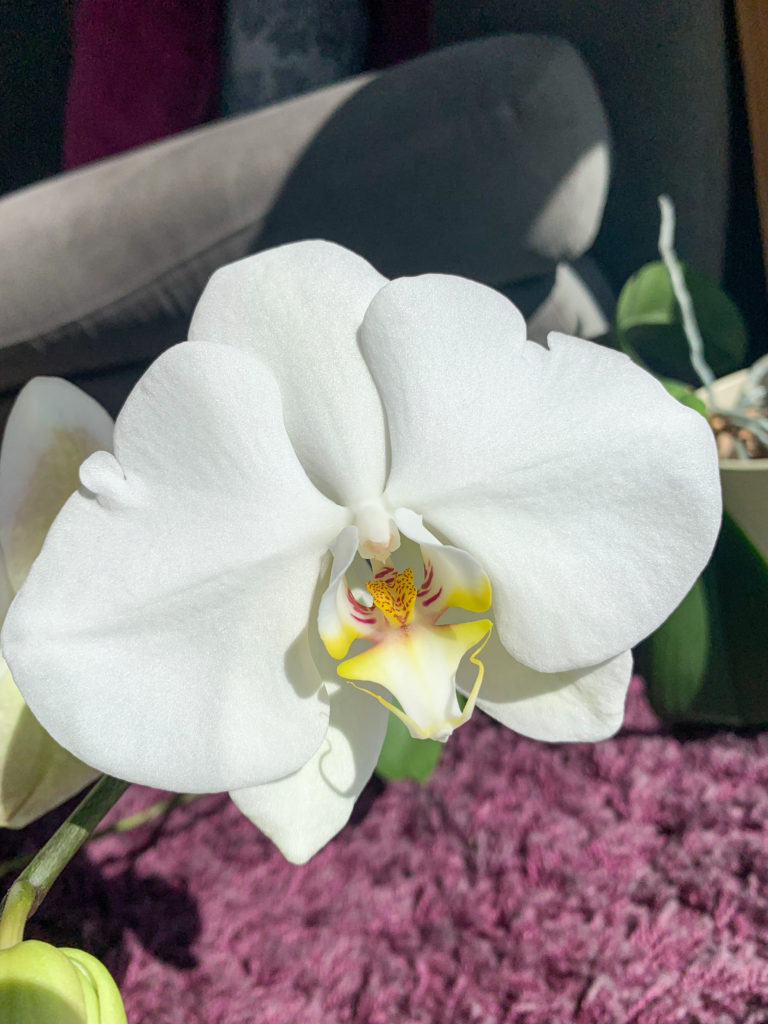
It is rare to find orchids bought commercially that are not in bloom or about to bloom. So it is likely you will need to consider what stage the orchid is at. I lIke to buy orchids that have at least 2 stems. I like to ensure at least one of the stems has yet to bloom and one with flowers already blooming. This way you will get longer life out of the bloom cycle the orchid is in and can enjoy the flowers for up to a month (if you look after it properly). Most importantly the flowers should be rich in colour and the stems should be green not yellow or brown and droopy. Flowers that look like this are most likely on their way out and cannot be saved.
If you follow these three steps in identifying a healthy orchid you will be sure to buy a great plant that will continue to grow and bloom with the right care.
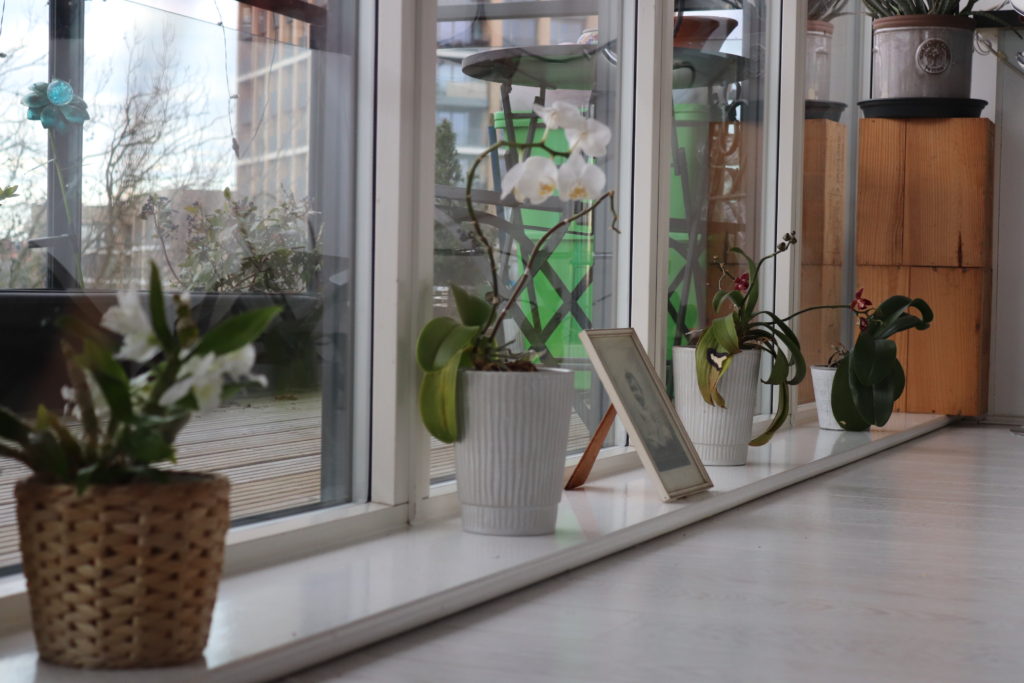
2. Placing orchids in the right place in your home
Different orchids require slightly different types of care so do always check the label of the orchid you are buying and check the required care of that specific species. This post is a basic guide to caring for moth or phalaenopsis orchids.
Once you have bought your orchid, now it is time to figure out where you should place it in your home. It is tempting to put it in the most aesthetically pleasing place or somewhere that fits in with your home décor. However, this can be a mistake and could cost you time or even the entire health of the plant if you’re not careful.
Orchids in the wild grow on the trunks and branches of trees. This means they do have some shade from the sun and will be getting little to no direct sunlight. Most orchids do not like direct sunlight and it will likely scorch the leaves leaving unsightly, black or white scorch marks. Do not get confused, as moth orchids do require bright light to grow and flourish but it should be indirect sunlight. The best place for moth orchids is an east or west facing windowsill.
I live in a very bright flat with floor to ceiling windows that are south or west facing. Some of my orchids are on the south facing window sills, but these orchids require more attention than the others. I do have to keep a close eye on them and move them if they are unhappy.
If your orchids do get scorched leaves you should leave the leaf intact, unless it is severally damaged. If there are several other large healthy leaves, you can remove the leaf. I tend to just leave them and change the position of the orchid to avoid further distress and damage.
3. Watering Orchids
Misting –
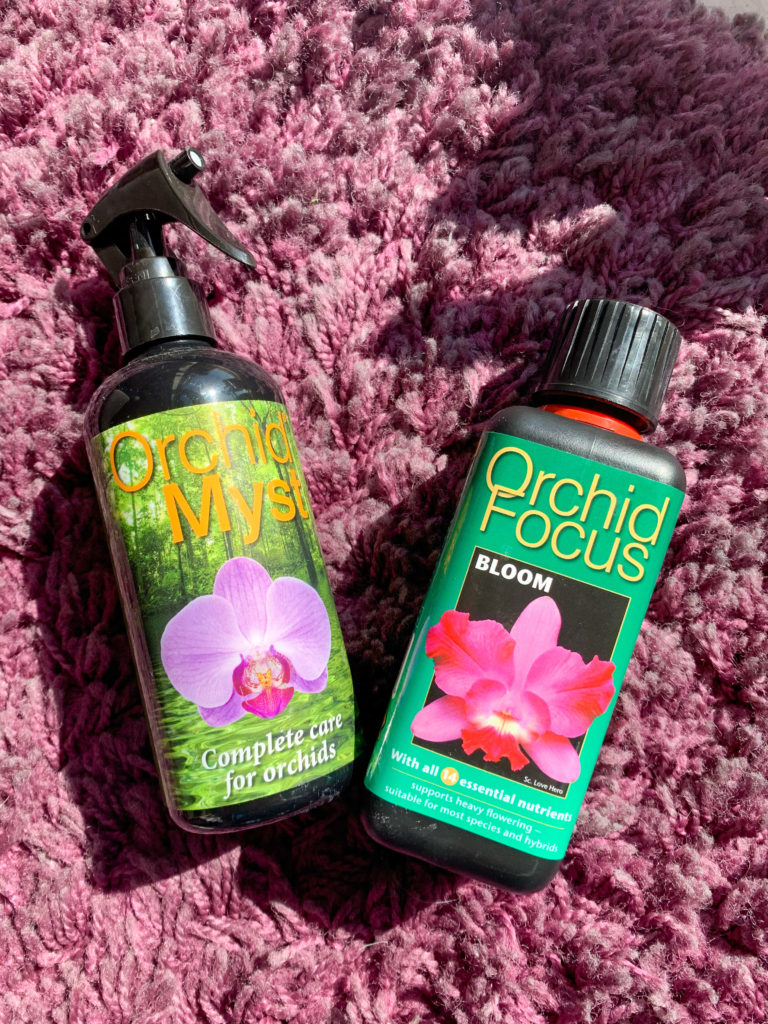
Most orchids including moth orchids come from humid and tropical regions of the world. This means they will obviously do best in a humid atmosphere. If you live in the UK or a country with a similar climate you likely have centrally heated home. This cauSes the air to be dry, which doesn’t only affect our skin but also the health of your orchids! A good tip to manipulate the plant into thinking they are in a humid environment, is to mist the leaves with tepid water. I recommend doing this 2-3 times a week. Do be careful to not spray the flowers as they can be marked by the water. You can also buy special orchid mist, I use this one.
Watering –
When I first got into orchids I knew nothing about them. I was attracted by their beauty and popularity and wanted to decorate my new home with them. I had no idea how to care for them and had to do some major research. One of my favourite resources I still use today for all things orchids is Miss Orchid Girl on YouTube. This channel is amazing and has numerous videos filled with information on growing and caring for different species of orchid – go check her out!
At the start I assumed watering would be the same as any other house plant. I soon learnt that was not the case. I now follow the method I learnt from Danny at Miss Orchid Girl and have never looked back. It really does work and is the best method I have tried.
Watering orchids is different to most other plants but it is simple and quick if you take the right steps. Overwatering is the most common way to kill orchids. It can be tempting to just keep giving your plants water, but really you have to pay attention to what the plant is telling you. If the pot is completely dry and light when lifted, then it is probably time for some watering. Roots of moth orchids will be green when well-watered and turn a more silver colour when thirsty.
Method –
I water my orchids once a week and as and when individual plants need it. I do this by pouring tepid water into the pot to about half way. Once I have gone round my flat and watered every orchid, I will leave the water for 30-60 minutes and allow the roots to suck up that good H20! Once the time is up, I go around with my mopping bucket and pour the water out of the pot into the bucket, allowing the plastic pot to drain for about 30 seconds before placing back into the empty decorative pot. I like to do this on cleaning day first thing in the morning and empty the water before I mop. Don’t worry if you forget the orchid soaking a little longer than planned, just empty the water and your orchid will most likely be fine.
4. Flowering
For moth orchids once the flowers have bloomed and fallen, cut off the stem just above a visible node. On orchid stems you will see little joints or ridges. Some of these joints will be completely flat and have no visible growth coming out. However, if you look carefully you may be able to see a visible node growing out of the joint. You should cut the stem about 1 inch above the visible node. This will hopefully stimulate the growth of a side stem and produce new blooms with the right care and attention. If no stem appears or there are no visible nodes on the stem, cut the stem at the base. This will allow the orchid to focus its energy on growing new healthy stems and leaves. Most other orchids will not flower twice on the same stem. You should cut the stem of these orchids once the flowers have fallen.
5. Cleaning Orchids
Our homes can be pretty dusty and you will notice your orchid leaves gathering dust on their leaves. You should clean your orchids once there is a visible layer of dust on the leaves, as this will prevent them from photosynthesising properly. The dust blocks the leaves from absorbing the required sunlight. I usually do this every other week using a couple of damp kitchen rolls or smooth damp sponge. Do take care and be gentle ensuring not to cut or bend the leaves. Healthy orchid leaves will snap if handled too roughly. Sometimes orchid leaves will die and turn yellow. If this happens and you have other large healthy leaves you can simply remove the leaf from the base of the plant.
6. Orchid Food
I am not an orchid expert but from the research I have undertaken, like any plant they do flourish and bloom better with assistance from an orchid fertiliser. I like to use one every other week from spring until autumn. Having used this orchid food for 2 years now, it has kept my orchids healthy and producing beautiful blooms year after year.
I like to feed the orchids in the same way I water them. Just leave them to soak in the food water for no more than 30 minutes. Do follow the instructions on the back of your chosen orchid food.
7. Re-potting Orchids
Unlike most other house plants, orchids don’t need regular repotting. Orchids often thrive when root bound and can survive for years in the same pot. Nevertheless, after 2 or 3 years, it is worth a look at the root health and cleaning and repotting the orchid.
Steps –
To do this you should buy some orchid compost. I like to use the standard bark orchid compost and have been using Orchid Focus. You may also need some bigger pots, as some of your orchids may be too big to fit back into their original pots. You can buy these at most garden centres or on Amazon.
The first step will be to take the orchid out of the pot, holding the plant firmly at its base. Empty the pot and remove any stuck compost from the roots. Next you will need to squeeze the roots to identify the dead roots which should be cut off. Dead roots will be flat, smushy and a grey, brown or black colour. A good tip to help you identify dead roots is to run the roots under some tepid water. Healthy roots will turn green any roots which do not turn green are probably dead of on their way out. Be careful not to remove too many roots if you find that lots of the roots are dead.
Once you have tidied up the root system the orchid is ready for repotting in fresh compost. You can check out this video for a step by step guide on how to repot orchids properly. It can be a little fiddly and tricky the first time around.
I hope this basic How To Keep Orchids for Years guide is helpful to you! That it encourages you to keep going and not to give up on that wrinkly orchid In your living room, don’t worry we’ve all been there! Head over to my Home 101 page for similar content.
Did you find this How to Keep Orchids for Years post helpful?
Please let me know and leave a comment below and tag @chilliandlife on Instagram and hashtag it #chilliandlife #CANDL.
Other Posts You May Enjoy